
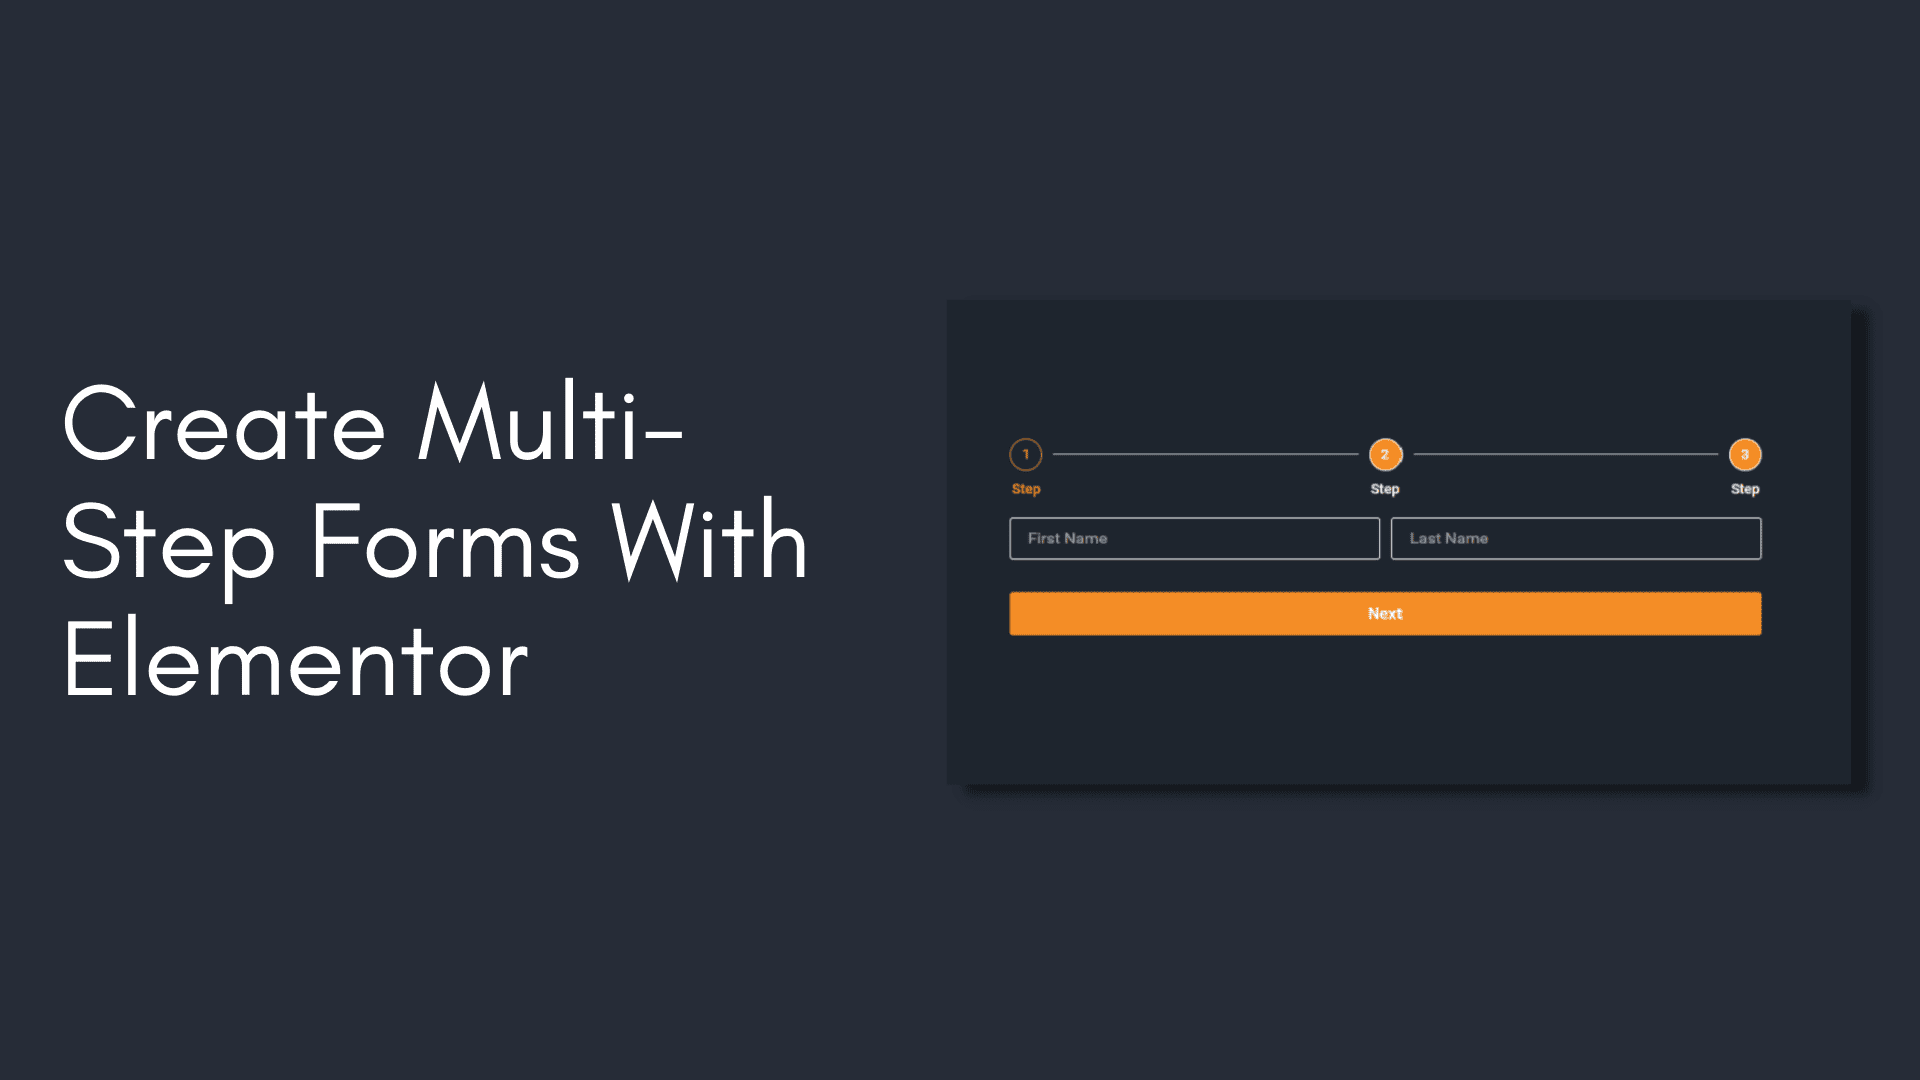
Creating Multi-Step Forms with Elementor
In this WPDesigns article, we will discuss Style The Light Box in Elementor. After reading this article, you will be able to easily create multi-step forms in Elementor.
Multi-Step Forms allow you to design forms with multiple steps, such as filling out a few fields, clicking Next, filling out a few more fields, clicking Next or Previous, and so on, until the last step is finished, at which point the form may be submitted. To save space on your design, a multi-step form is a great idea. It allows you to compress a lengthy form into a more manageable one. A multi-step form is also incredibly important as it allows the user to feel as though the form is smaller than it is which increases the chances of them filling it out and improves the conversion rate.
Go To Your WP Dashboard
To get start go to dashboard. Then open a page with Elementor where you want to add your multi-step form. Create a section in the page and drag and drop the form widget here.

Name Your Form
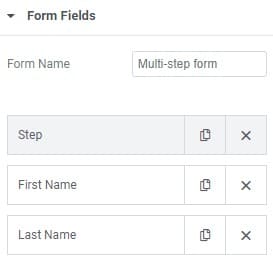
Then you can see three different options for the form which are content, style and advanced. So you have to do first to give a name to the form which option you will get under content option.
Select Step
By default you can see three items already there which are Name, Email & Message. To make a form as step you have to choose the type as step. So for the first one we will select Step instead of Text. And then you have to add the items which you want to add in your first step. So I will add two items for the First Name & Last Name. So we just finished doing our first step of our multi-step form.

Adding the Second Step
In this step we will add our second step items. To do that just add an item and then select the type as step. After that, we have add the fields which we want in our second step. You can add whatever you want in there. I will add email and phone field in there. So you can add multiple steps by using this method.
Add More Steps If Needed
If you want one more step in your form just add another item and then select step type for the item. Then add your fields which you want and then if you think you don’t need no more step then you can leave it as it is after adding the items for third step. And if you think that you need more step just go over to add one more item and then select type as step.

Add in Navigation Buttons
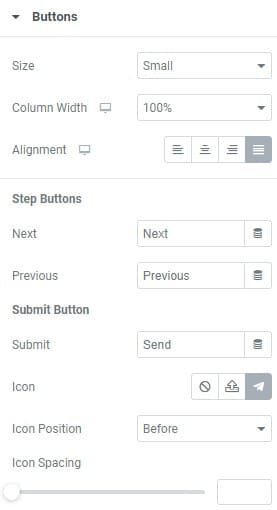
After that under Buttons you will get Next, Previous and Submit option. If you want to change the text for Next, Previous and Submit button you can easily do that from here. You can also set the alignment and column width for the button from here.
Style The Multi-Step Form
In this step we will style the multi-step form. To do so click on the style tab then you can different options to style the form. From the form dropdown we can adjust the gap of row and column. After that you can see the Label and Html Field option where you can see the spacing, text color and typography options to customize.

Customize The Form
From the Field dropdown we can customize the Text Color, Typography, Background Color, Border Color, Border Width & Border Radius options for the fields. Then you will get the Buttons dropdown options where you can customize Typography, Border Type & Border Width for the button. Then you will see more options to set normal and hover effect for buttons. You will get individual options for them. For next & submit button you can set Background Color, Text Color & Border Color you will get the same options for previous button. Next, you will get the Border Radius & Text Padding options for the buttons.
Adjust Messages and Steps
Then you can see the Message dropdown where you can adjust Typography and the color of Success Message Color, Error Message Color & Inline Message Color. Next Steps dropdown will come. Here you can adjust the space between the form and step header. After that you can adjust the padding of the step circle. After that you will get three option which are inactive, active and completed. Here you can adjust the primary and secoondary color of the step circle for those three options. You can also set the width and gap of the step divider.